Showing posts with label Pixels. Show all posts

Sunday, January 27, 2019

Pixel Cane


After enjoying an old music video of "Puttin On The Ritz", I wanted to build a cane like this for my light show.

This was further driven by this last years "xLights Around The World" where we used "The Greatest Show".

I did an indoor show for my local church, and I thought it would have been really cool to be dressed like PT Barnum with a light up cane sync'd to the show. This is my design process.


I first tried the ESPixel board system, but was not impressed with the flimsy design of the WiFi board on top. I found another take on the same board with a better design, and bought a few.

https://jboards.ecwid.com/ESPixNode-p127558674

This design arrives prebuilt for $13, and has a USB port for easy programming using the same firmware (No other adaptors needed). The only issue I have, I want my design to be fully self contained to run 5v pixels using lithium batteries. This means I need a regulator for the pixels that this board does not have (only one for the control board). What it does have, is a fuse port for the pixels which happens to be perfect for putting on a 5v regulator, and running the ground wire to the bottom of the board. I am hoping that Jeremy sees this design approach, and adds a 5V regulator to the free space on his board for future versions.
I opted for WS2812 pixels, as I would have more granular control of the lights, but would require a 5v bus. Originally I was going for 4 AA batteries, but discovered 18650 Lithium batteries to be a better solution because it would be more power, less weight, and the topper part of the cane holding everything would not have to be as tall. I tried to keep this design as simple as possible, while still protecting everything.

I designed enough room to hold 2 of the 18650 batteries, the ESP board, the wiring above the board, and even a part on the case to hold a power switch.

This whole design is based on some of my work with pixels inside PEX tubing. Due to the design of this, I didn't want one side to have less light, so I double-stuck the pixel strips to each other inside the tube.

This was done in a Zig-Zag, as testing with both strips plugged in yielded no data to the pixels at all.

It was for the better anyways.

Before wrapping the pixel strips, I added a pixel LED to the tip (also called a "NeoPixel", basically another WS2812 but with 2 colors flipped which can be fixed in xLights)

This was difficult to keep the pins from shorting anything out. Once I got everything running where I wanted, I sealed the pins with hot glue.

Next, I designed a part to hold the LED bulb, the Pixel Strips, and lock into the PEX tube at the base. I printed in clear PETG, allowing the single LED to also illuminate the end cap. This will allow for creative pointing at the audience with light.

I quickly realized it was nearly impossible to keep the pixel strip from resting up against the side of the PEX tube. Tensioning the pixel strips was not a good idea, nor possible for very long with this design either. I created very thin stabilizer disks to hold the pixels in place, and you can barely tell they are there when using transparent plastic placed between the pixels.


Not as interesting, but quite important is the lid. I have the battery jumper to get the voltage I need. I printed this in transparent PETG as well so when the unit is powered on, I can see the power light from the board inside the lid. It is not all that bright, to it will not be noticeable to the audience unless it is completely dark and my hand is not on the top.


This is what the final design looks like that I 3D printed. I am working to improve the design a bit more to improve the printing process.


Sunday, September 3, 2017

3D Printed Light Show Keyboard


Checkout this 3D Printed Keyboard. I used PLA for the base tray, and Natural (Transparent) PLA for the lid. Lid is using 20% infill to allow the light to be defused, and it was printed at 220 to get the clearest layers for the top. Also, this was printed on PEI, so the surface is a nice glossy surface.


I designed this to hold the denser 48 LED/m pixel strips. The long keys hold 3 pixels, and the short keys hold 2. This makes for an effective keyboard effect, but can also be used for some neat matrix effects.

STL files available here:


Monday, August 24, 2015

Pixel Pipes

 
This is a field of Pixel Pipes I made to go on my grass this year. I am making 33 of these pipes, with 5 pixels each, consuming just under 1 full universe.
Layout:
1    1    1    1    1    1    1
  2    2    2    2    2    2
3    3    3    3    3    3    3
  4    4    4    4    4    4
5    5    5    5    5    5    5
Special Materials needed:

Pixels:
http://www.holidaycoro.com/product-p/673.htm

PixNode Strips:
http://www.holidaycoro.com/product-p/767.htm
For this build, I used 1 Inch PVC pipes from the hardware store. This size is just big enough to feed the flat style pixels though the tubes.

I cut the PVC into 20 Inch sections. This would give enough room for 5 pixels per, and some space left over for the wiring and diagonal cut to make it easier to push into the grass.
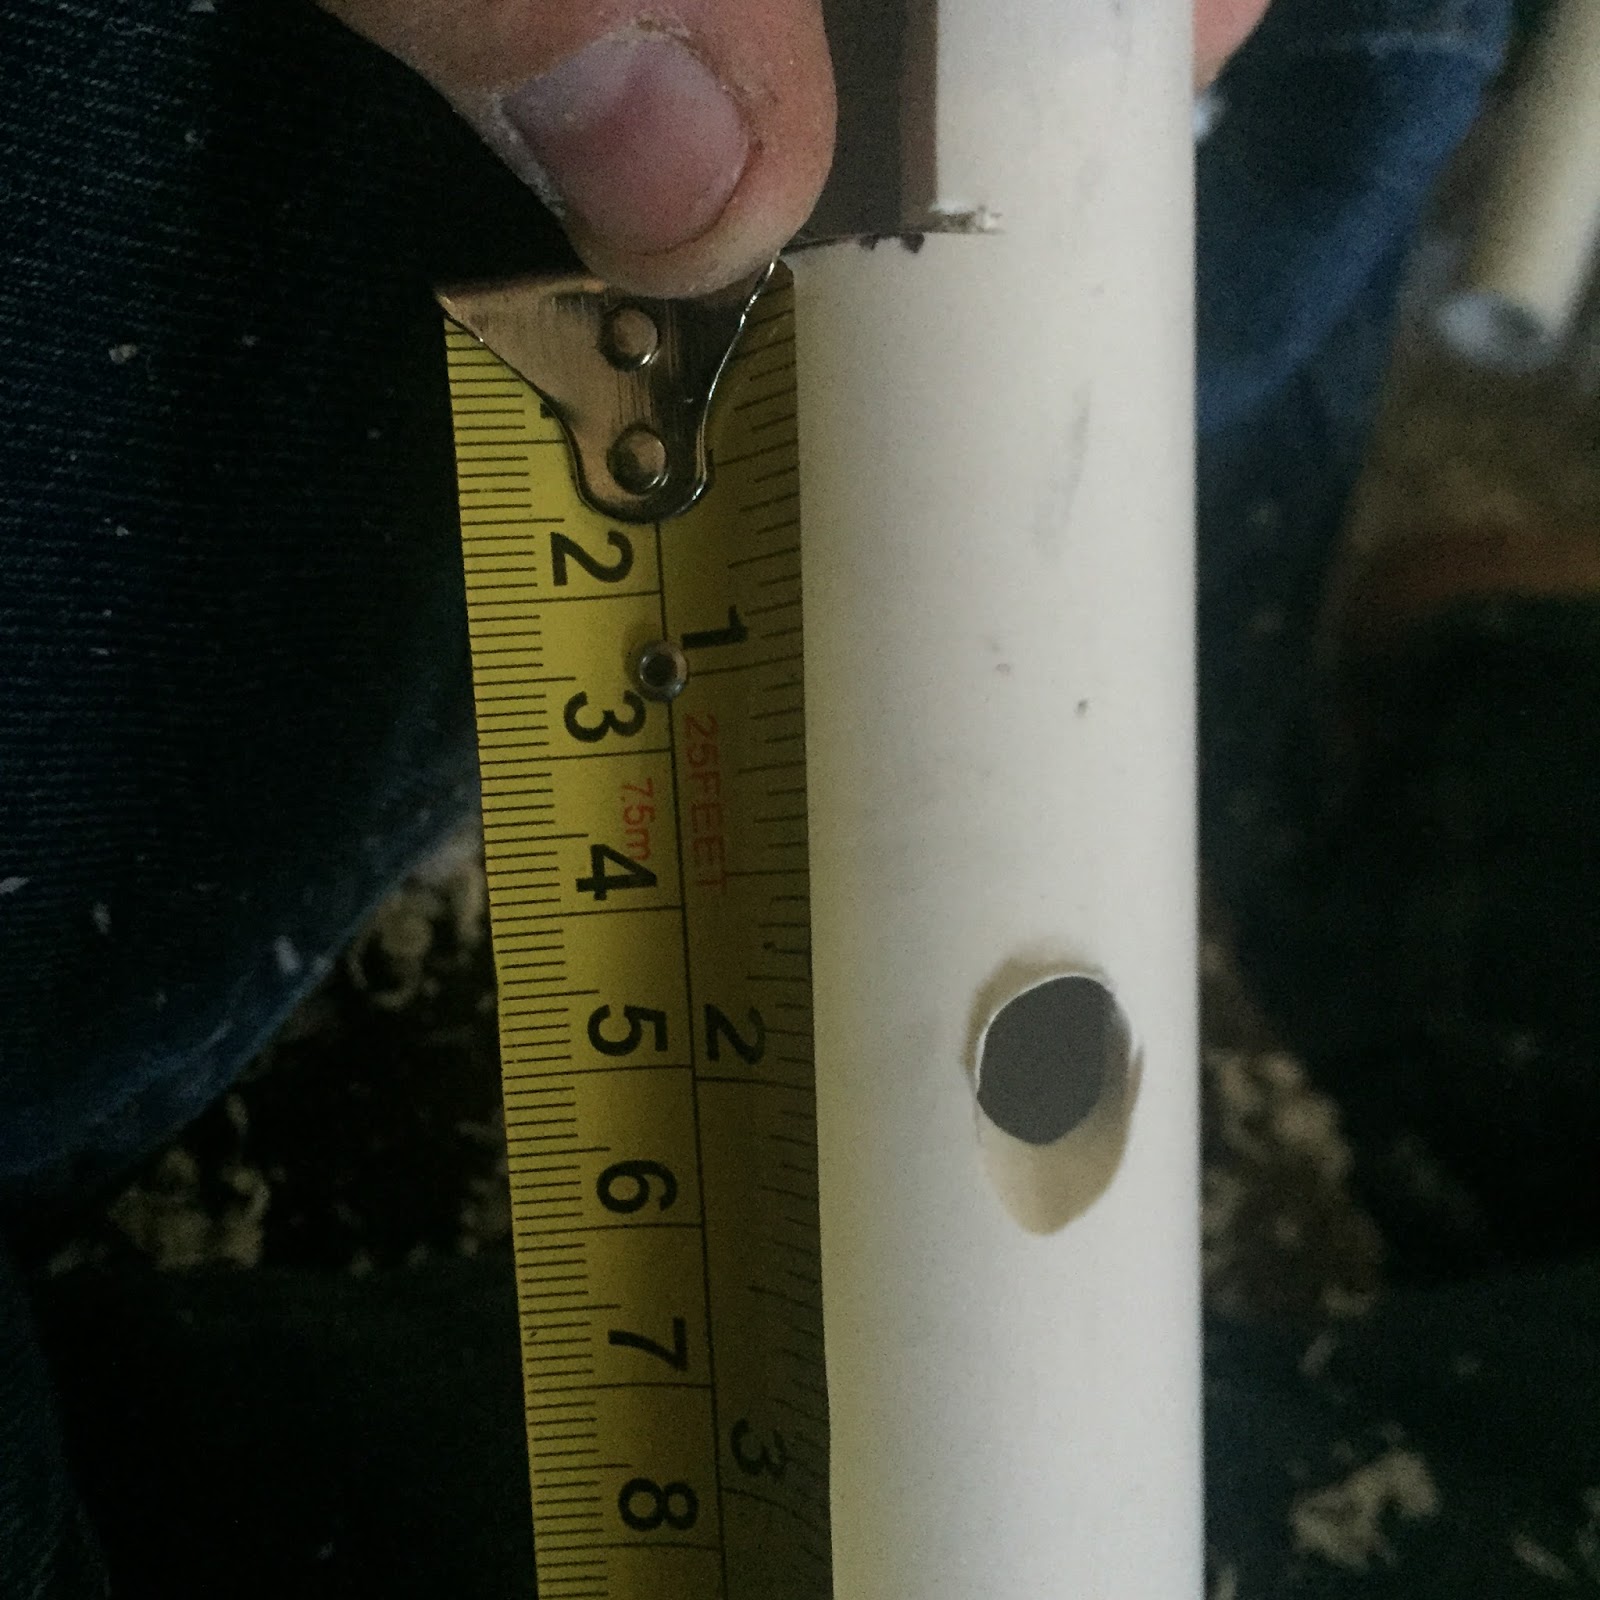
Next I marked the PVC Pipes for cutting. A line at the 2 Inch mark will be for the top of a PixNode Strip. 
Next I marked at 15 Inches, as this will be the bottom. This is 13 inches, so it will be 13 holes of PixNode Strip. The idea is to use the PixNode Strip for 4 nodes, and one node on the top of each pipe.
Cut with a jigsaw. This is difficult with a portable jigsaw, as you have to be careful not to twist the pipe, and maintain the depth. The slot has to be wide enough for the pixel node to slide into the pipe.
Drill holes about 2 inches below the bottom cut (the one at 15 inches from the top), as this will be for the wiring.
Once the pipes are cut, it is time to start on the wiring. I wanted a 4 foot space between each pipe, so that came out to about 5.5 feet of wire between each one (1.5 feet to travel up the next pipe and attach to the top pixel). This is the cable I found at my local hardware store, at $.63/foot. I attached my cable tails to the output side of my PixNode Strips.
Next, assemble the section of PixNode Strip with lights attached. Make sure you see the direction of your data on the pixels. I went from the Top down, so the one pixel not on the PixNode Strip was the one receiving data and on the top of the pipe. I used a hot glue gun to attach the PixNode Strip to the PVC, and that seems to work out well. 

I used the 1 Inch center to center spacing PixNode Strips, but I could have done the same build using the 3 Inch center to center spacing. 

Don't touch the glue gun to the PixNode Strip for too long, as it will start to melt the PixNode Strip.
The PVC is the perfect size to gently hold a pixel at the top. Now, to make the cap.
I used a jigsaw to cut a flat top on the end cap. This will make it easier to get the pixel node settled, and reflect some of the light so it will be more visible.

Once you have drilled and sized the hole on the end cap, I wet the inside of the cap, and pushed to onto the PVC tube. You may need to move the pixel into place, but once it is aligned, a firm push on the cap onto the pipe should push the pixel into place.


Next is to build more, and test. I did use some connectors to I can disconnect sections. I did sections of 3 and 4 pipes. This allowed me the flexibility to relocate sections if needed.

The last thing to do is mask the pixels off with tape, and spray paint the pipes black, so they will not be visible unless they are lit up.

This is my 1/2" PVC test jig that I used for testing the effects on the pipes. Later, I replaced the sections of pipe between the T fittings to extend the size of the whole unit, so I could use the Pixel Pipes for an indoor show. I recommend either electrical taping the pipes, or painting them black if used indoors.
This is a similar design to David Peace, but he used coro instead of PVC. He was on The Great Christmas Light Fight in 2017. His video showing layout and testing is here