|
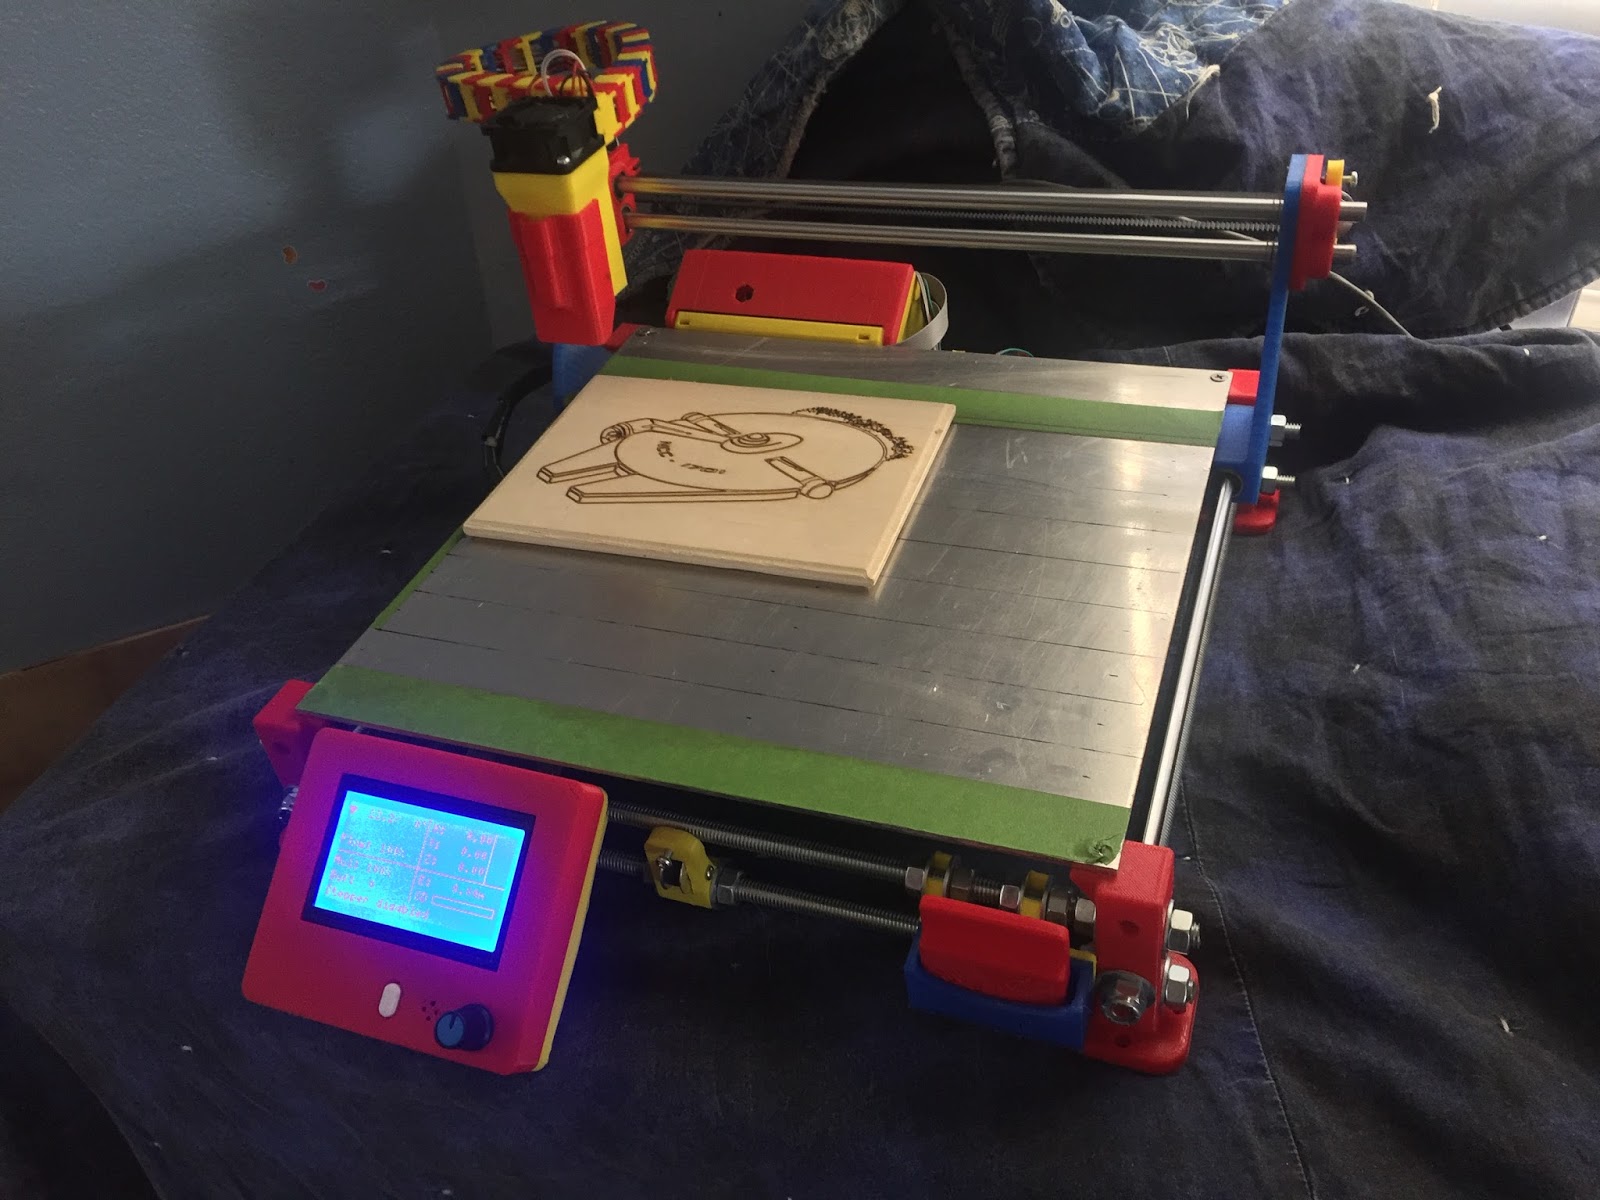
| I found plans and STL files for a Laser Etcher on thingiverse.com and 3dpburner.blogspot.com. I thought this was a really neat project, and decided to build one. The original 3DPBurner does not have a screen, and is not really designed to etch from the SD card. I found out that Repetier supported CNC and Lasers as their tool and gave it a try. |
This build is based on an Arduino Mega2560 with a Ramps 1.4 shield. The kit I found also included the (RepRapDiscount Full Graphic Smart Controller 128x64) graphical display. Here are the STL files I used for this build:
3DPBurner Main Files (See Note*):
http://www.thingiverse.com/thing:610934
Controller Enclosure:
http://www.thingiverse.com/thing:761806 |
 |
| Ramps 1.4 control board |
|
Screen Enclosure:
http://www.thingiverse.com/thing:87250 |
 |
| LCD Interface, with temperature monitor of the laser. |
|
Cable Chain
(31 links, and 1 of each end used on my build):
http://www.thingiverse.com/thing:34661 |
 |
| Laser Carriage with cable chain superglued on. |
|
Spacer Holder:
http://www.thingiverse.com/thing:1669749 |
 |
| 45mm Spacer tray |
|
Here is the parts list of the main items needed:
https://amzn.com/w/38ZI5OYDBF7WV
The rest of the parts can be found at the local hardware store.
*Note: The designer of the 3DPBurner has revised some of the files, but not all of the new files are available. If you go to his website, and make a donation, he will email all of the current files to you, including the new and improved laser carriage (Better at adjusting and has a safety hood to block some of the light).
The bearing rods are a royal pain to cut, but I was able to do it with a grinding wheel on a Dremel
I printed several of the Y Endstop STL files, and superglued them to the back of the Screen and Controller Enclosures, making it really easy to mount them to the frame. I designed the Spacer holder, after worrying about loosing it.
Firmware:
I wasn't too impressed with the 3DPBurner firmware. He did a great job, but considering Repetier supports Lasers and the LCD screen, I went with Repetier. Here are some files, including my configuration.h file, so you can use the online tool to build your firmware. https://www.dropbox.com/sh/x4ej920u3lwa7z5/AAAeJlnNRfyLLlLb6C_bQufqa?dl=0
Repetier Firmware Tool:
https://www.repetier.com/firmware/v092/
 |
| Top view of Laser Carriage with cable chain superglued on. |
|
 |
| Laser Driver, with a 40mm fan on an old PLA mount |
|
 |
Endstop switch holders used to mount LCD to frame.
Double sided tape used to stabilize data lines onto bed. |
|
 |
Top view of the laser, temperature sensor inside the housing.
Thermal grease between heat sync and laser |
|
 |
| Wiring Diagram |
Works
 |
| Raster Etched, then Trace Etched for the Temple detail |
|
 |
| Trace Etched |
|